The room journal
Restaurant tables as a complete top, base, and seating system
Restaurant tables work as a system of surfaces, supports, seats, and room positions. Choosing the top first can be useful, but the decision remains incomplete until its base, mounting arrangement, and intended use have been checked. A visually convincing combination is only one part of a complete table specification.
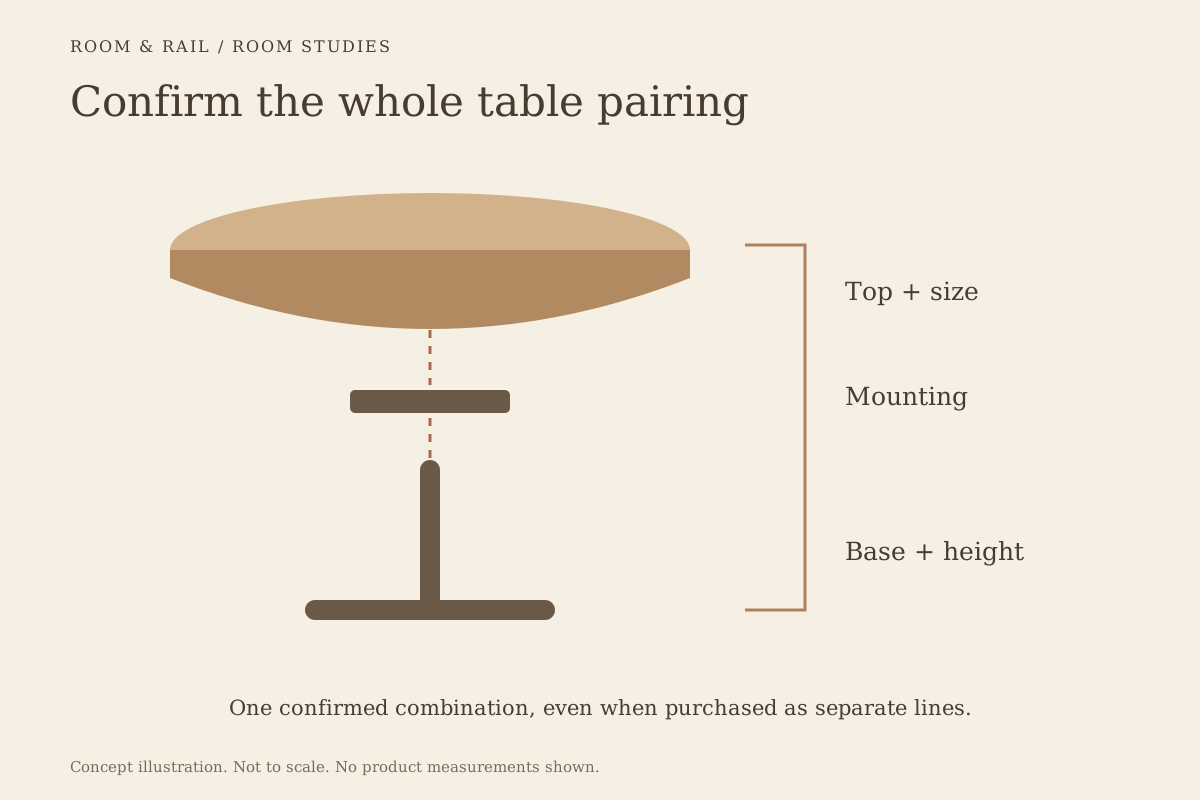
Begin by identifying what each listing actually contains. A complete table, a separate tabletop, and a base are different purchasing units. Keep those distinctions visible while comparing the appearance, so the final schedule describes the furniture you intend to receive.
Open diagram at full size (new tab) ↗
Separate complete tables from components
Start in the table collection, then read the included parts on the individual record. Some listings have a base included, while others describe only a component. The product photograph may show a styled combination that should not be treated as the packing list.
The FRU-BZAT-MTWD-BAR-BL table, for example, records a solid-wood top, a steel base, and a listed 42-inch bar height. Its selectable top forms include 24-inch diameter and 24-by-24-inch choices. These are options within that model, not general dimensions for all bar tables.
For separate tops and bases, retain two product identities and a confirmed pairing. A similar finish name does not establish matching mounting points or adequate support. Ask for the intended top size and base combination to be confirmed together.
Choose the usable surface before the decorative effect
Consider the items that will occupy the table during service. Representative plates, glasses, and shared dishes can be arranged on a full-size template of the proposed top. This helps identify practical questions before a material or edge profile becomes difficult to change.
Use the actual offered size, not the apparent size in a photograph. The FRU-ERAT-ELM tabletop offers several square and rectangular dimensions, including 24 by 24 inches and 30 by 48 inches. The listed thickness is 1 1/8 inches, which is a separate measurement from the top's width and length.
A template review does not establish legal capacity or prove that a place setting is suitable for every menu. It gives the project team a controlled way to compare the intended service. Record the objects and assumptions used so a different table size can be reviewed fairly.
Assemble the height from verified information
With a complete table, confirm the finished height of the selected version. With separate components, check how the top thickness, base height, and mounting arrangement contribute to the final result. Do not assume the nominal base-height label already includes the top.
The FRU-TB-19S base offers labeled 28-inch standard-height and 41-inch bar-height selections. Those are choices for that base. They do not establish that either can be paired with any top of a visually appealing size.
Review the assembled table against the intended seating. The chair selection guide and stool selection guide explain why the seat position, arms, apron, and support must be considered together. Missing dimensions should become confirmation questions, not estimates from the pictures.
Check what happens beneath the surface
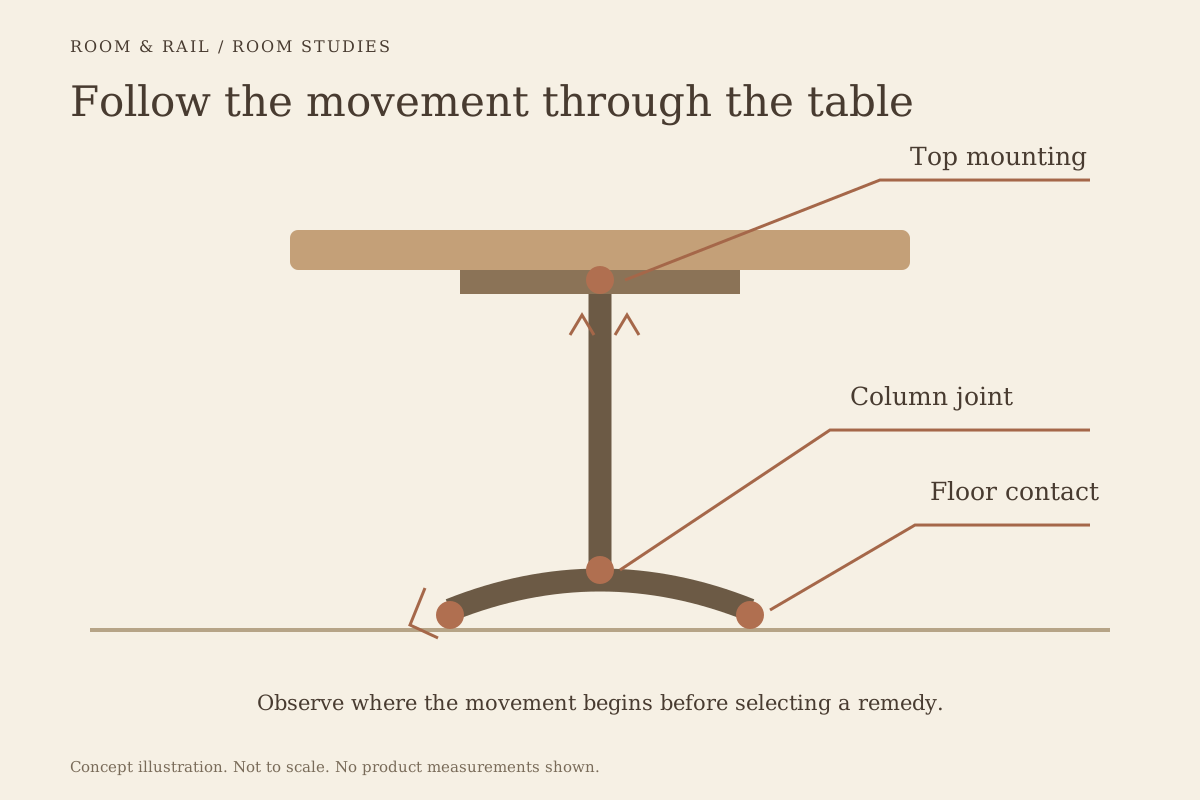
A base can occupy space where feet and chair legs need to move. Review the base footprint and the position of supports in the actual arrangement, including where guests approach the seats. A top-down outline of the tabletop alone hides this part of the system.
For a long top or unusual shape, obtain the supplier's approved support arrangement. Do not improvise a larger overhang or substitute a visually similar base without confirmation. The same principle applies when reusing an existing top with a newly purchased support.
Keep assembly instructions with the component pairing. They should identify the intended mounting method and hardware for the products involved. A general blog illustration cannot replace those instructions, and it should not become an informal load-testing procedure.
When comparing two proposed bases, ask the same compatibility question for each: the exact top material, size, thickness, and intended finished height. A reply about one combination should not be carried over to a larger top or another mounting arrangement. Retain the confirmed pairing in the schedule so a later finish substitution does not accidentally become a structural substitution.
Match material decisions to the setting
Read the top and base materials separately. The color of a surface does not establish its construction, while a wood-look appearance may describe a different material from solid wood. The materials guide explains that distinction before you describe the selected surface in your project record.
Confirm the stated use of every component when the table is intended for a patio. An exterior-rated base does not make an indoor top suitable outdoors. The outdoor furniture guide connects the model-specific use classification to exposure and storage questions.
Ask for care instructions for the exact finish and surface. If the restaurant has a particular cleaning procedure, check compatibility before approving the material. Do not assume that a finish is suitable for a chemical merely because it appears smooth or sealed.
Review the edge and support as part of the room
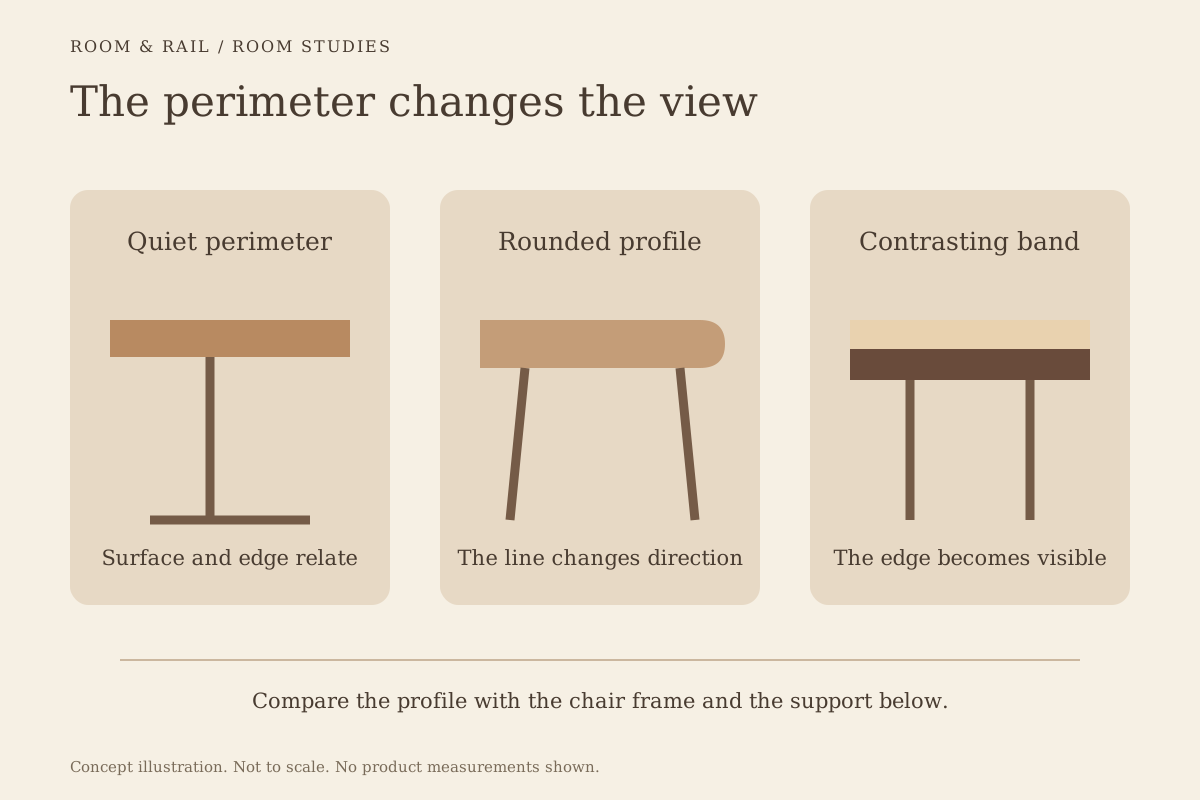
The tabletop's perimeter may be more visible than its upper surface from the entrance. Compare the edge profile, apparent depth, and color beside the chair backs. The table edge guide develops this visual review in more detail.
Look at the base against the floor too. A dark support can connect several different top finishes, while a more prominent base can become its own feature. Make that choice after the functional pairing has been confirmed, so a strong visual preference does not conceal a compatibility problem.
Save the complete proposed combination on the finish board. Where components are separate lines, use notes to identify which top and base belong together. The quantities should make the pairing understandable to someone who did not create the board.
Reconcile the table schedule with the room
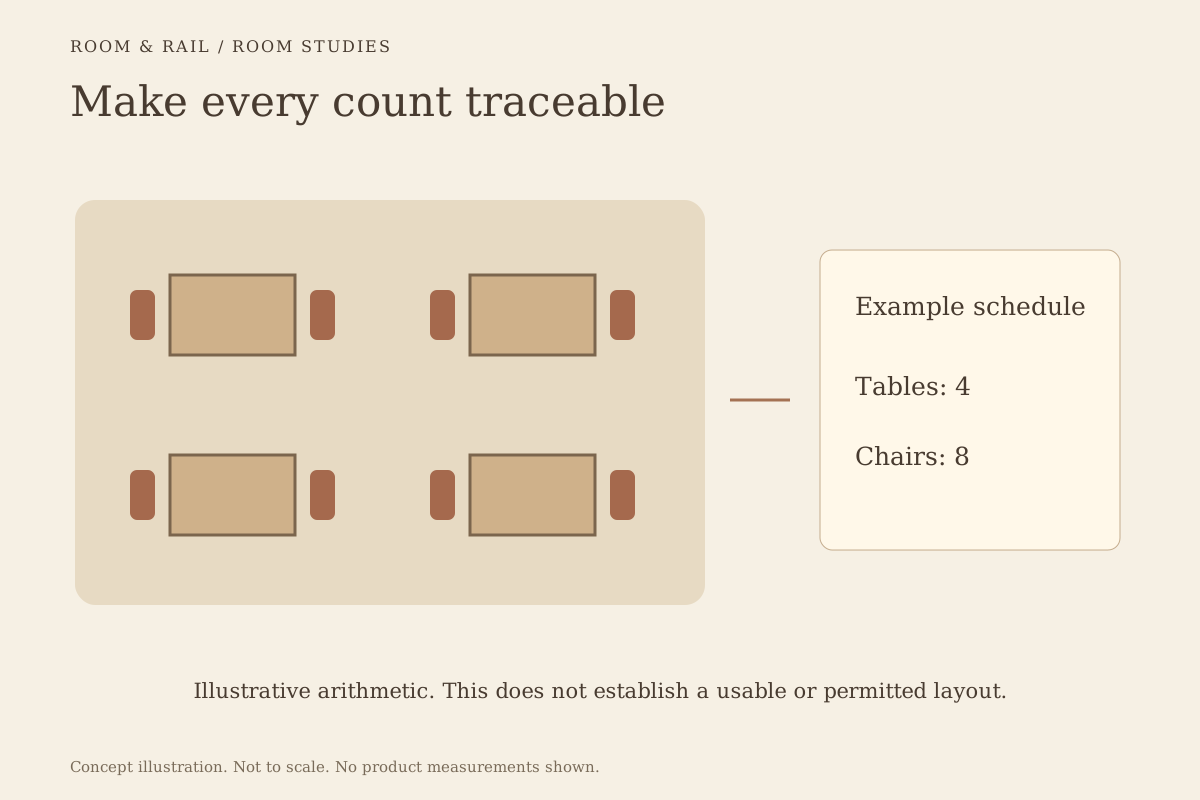
Use the layout-to-schedule workflow to connect each table configuration to its zone. Check that loose chairs and booths are being reviewed with the correct table version. A changed top size can affect several neighboring decisions even when the finish stays the same.
Before ordering, confirm the included components, selected sizes, current configured prices, and unresolved assembly questions. A complete table record preserves both the appearance and the practical pairing. It lets the room develop through considered changes without leaving the support system to be guessed at the end.