The room journal
Restaurant booths: choose the unit, table relationship, and upholstery together
Restaurant booths combine a seating surface, a room boundary, and a specific relationship to a table. Their upholstery can establish the palette, but the shape and selected unit type determine how the arrangement is organized. Those decisions need to develop together rather than letting a preferred photograph settle the whole specification.
Begin with the actual location of the booth. A wall run, a freestanding divider, and a pair facing across a table create different questions about access, exposed panels, and the furniture around them. Keep the selected configuration visible as the design moves toward an order.
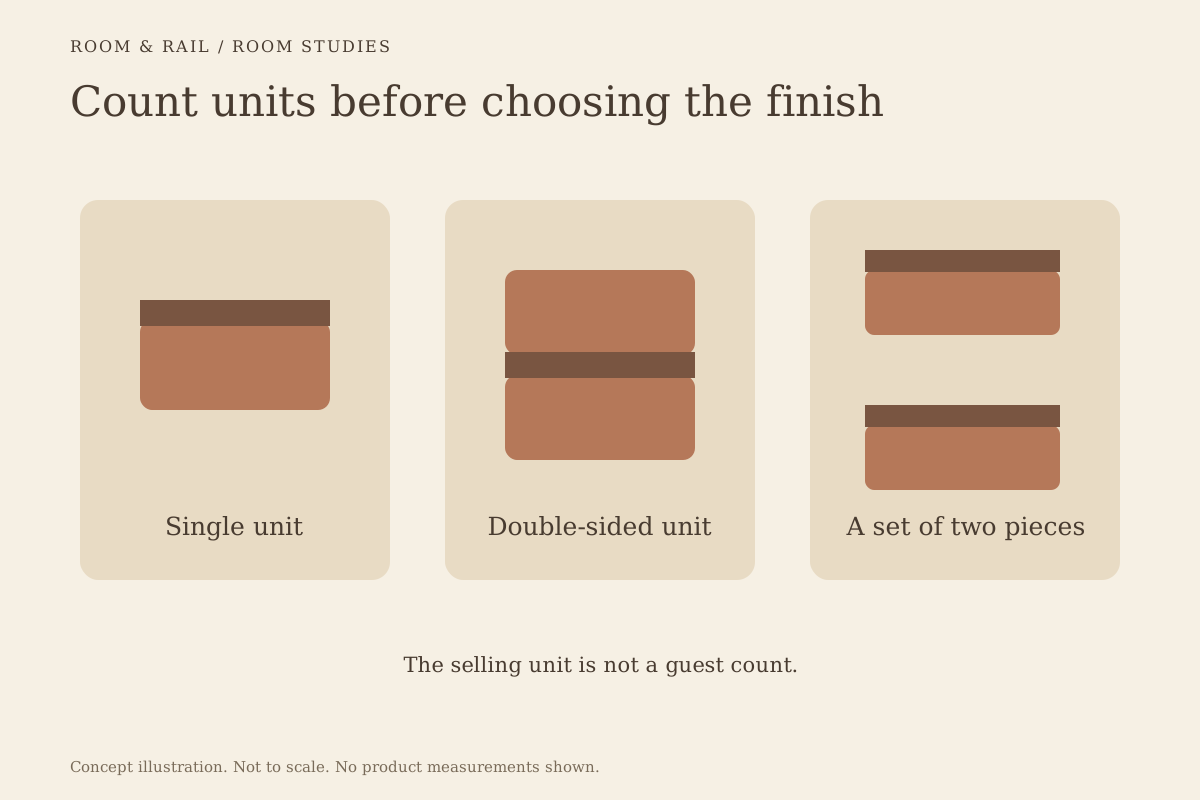
Open diagram at full size (new tab) ↗
Understand the unit before counting it
Browse restaurant booths with attention to the selling unit and shape controls. A single unit, a double unit, and a set of separate pieces should not share an ambiguous quantity. Read what the listing includes before interpreting the image as a complete arrangement.
For example, FRU-639971-SET is recorded as a set of two pieces. By contrast, FRU-BT-6C is configured through individual shape choices, including Single, Double, Deuce Single, and Deuce Double. Those records require different counting decisions.
Confirm the selected unit's full dimensions and orientation with the product information. Do not infer a guest count from the word deuce or from the number of people shown in a styled image. The measured layout and appropriate professional review establish what the room can accommodate.
Keep overall height separate from the seated position
Booth backs vary in their relationship to the surrounding room. A taller back may interrupt a view that a lower one leaves open. The visual effect needs to be considered alongside service visibility and the neighboring furniture, without claiming an acoustic benefit from height alone.
FRU-BT-6C offers booth-height selections labeled 36, 42, and 48 inches. Those choices describe the booth-height control. Its specification uses the word Standard for seat height, which does not provide a numerical seat-height measurement for a table-fit calculation.
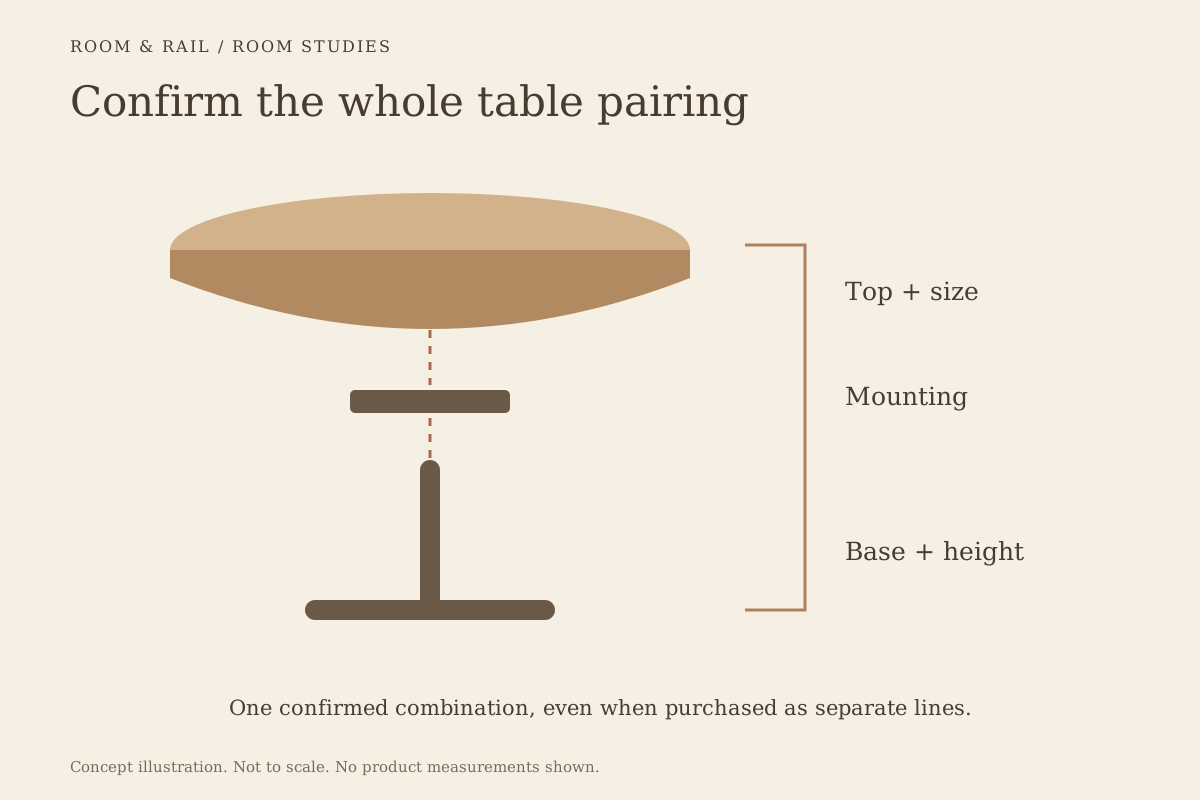
Request the exact seated dimensions when they affect the pairing. The table-system guide explains why the top, base, seat, and available leg space must be reviewed together. A familiar booth profile does not remove the need for those measurements.
Evaluate the booth and table as one arrangement
Place the proposed table shape within the selected booth arrangement on the measured plan. Check how guests will approach and leave, where the base sits, and which part of the top they can reach. Include loose chairs if they will complete the group.
Use a full-size mockup where practical, with representative furniture or clear templates that reflect verified dimensions. The exercise can reveal questions, but it does not certify occupancy or accessibility. The layout guide keeps those responsibilities separate from the furniture schedule.
If a table size changes, revisit the booth relationship rather than updating only the tabletop line. A different support or top shape can alter access and usable space. Keep the accepted combination identifiable so a later substitution is reviewed against the actual arrangement.
Ask for the relevant seat depth and the position of the back relative to the table, not only the outside booth dimensions. A drawing that shows the whole unit can still leave those seated relationships unclear. Resolve them before treating a visually balanced arrangement as a settled specification.
Decide which surfaces should be upholstered
The back, seat, and base can have different material options. On FRU-BT-6C, the back offers fabric or vinyl upholstery selections, while the seat control specifies padded vinyl. Choosing a back material does not automatically set the seat material or its color.
Read the upholstery selection guide for the material questions that belong in a food-service setting. Obtain care and serviceability information for the exact offered upholstery. Do not infer cleaning compatibility or replacement arrangements from a broad fabric or vinyl label.
The materials notes also help distinguish a visual finish from its construction. A wood-look base treatment and a wood-leg option are different selections. Keep the actual chosen option on the line so the board does not conceal a material difference behind a shared color.
Review the parts visible from outside the seat
An end panel or exposed rear may face the entrance, a circulation route, or another seating group. Ask for the relevant views and finish descriptions if the catalog photography does not show them. The front upholstery is only part of the booth's appearance in a freestanding position.
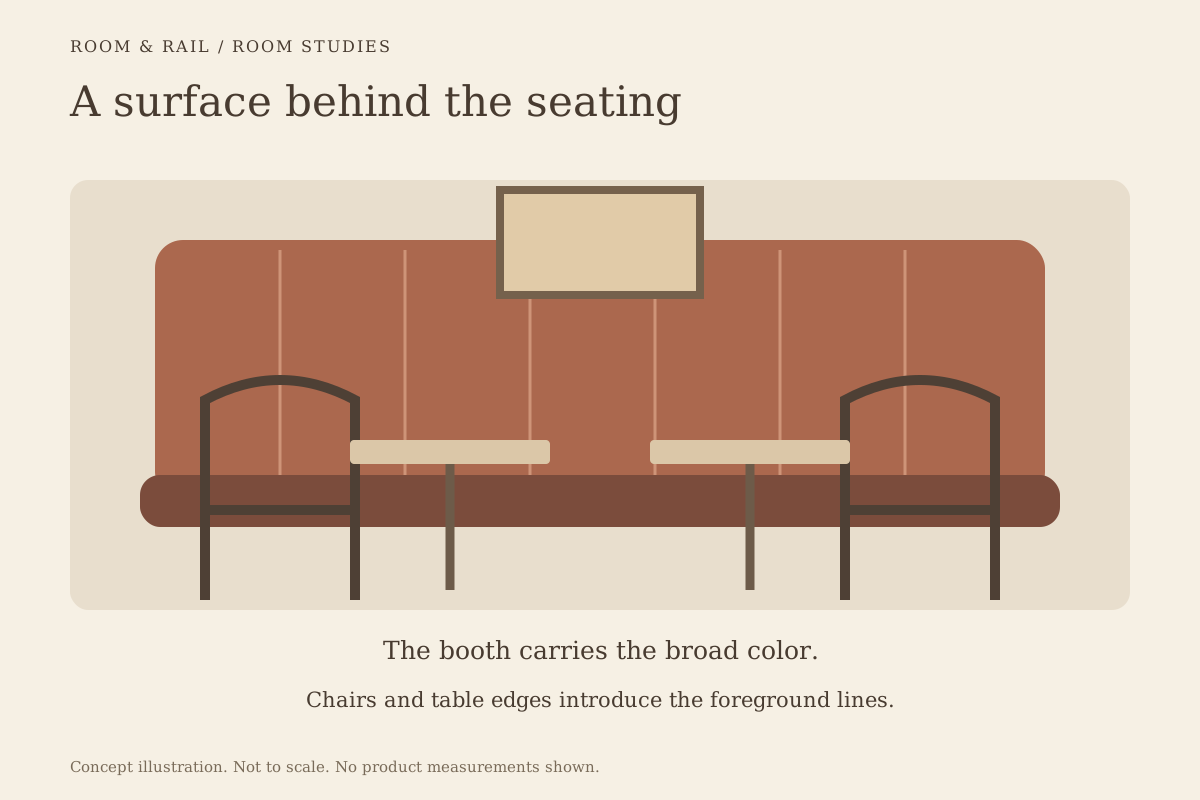
The guide to booth backs as room surfaces explains how a broad upholstered area can lead the palette. Review the seam direction beside wall patterns and table edges. A detail that looks quiet on one unit can form a pronounced rhythm across a longer run.
Compare the loose chairs opposite the booth at the same time. An open back can leave more of the booth visible, while another upholstered surface may create a denser group. The chair and booth can relate without using identical material names.
Account for optional components and site work
Some booth configurations offer additional components, such as an integrated power package. Treat the availability of a selector as the start of a project-specific question, not proof that the installation is ready. Electrical requirements and connection arrangements need qualified review for the actual location.
Likewise, confirm any fixing, assembly, and placement requirements rather than treating a booth as a chair that can simply be set anywhere. Review the receiving route and the delivery form. Read the delivery planning guide when preparing access and handling questions before fulfillment is arranged.
Keep these questions tied to the chosen booth version. A different back height, base, or length may change what has to be checked. Carrying assumptions from a smaller or simpler configuration can leave the final selection incomplete.
Bring the booth into the saved room
Save the exact shape, offered dimensions, upholstery choices, and base treatment on the finish board. Give the room group a recognizable name and connect it to the intended table. The buying guide explains how the finished selection moves into a clear order review.
The final record should explain both what the booth contributes visually and how its configuration belongs in the room. That gives later revisions a concrete basis. A changed fabric can be assessed as a palette decision, while a changed size or unit type triggers the wider fit review it needs.